LUUM.IO
AMATIS - QUICK START GUIDE#
About This Guide#
Welcome to the quick start programming guide for the Amatis Lighting Controls System and the XS-100 Series X-PoE lighting controller! In this guide, we will program a location with X-PoE lighting loads, wall switches, and motion sensors. We will cover how to configure the lighting loads for maximum compatibility with the X-PoE system, demonstrate how to zone the lighting loads and controls appropriately, and finally activate motion and wall switch controls.
Note
Though this guide features the XS-100 Series X-PoE lighting controller, it is applicable to any Luum.io or Amatis load controller and/or wireless device.
Necessary Parts#
The following parts will be necessary to complete this guide:
- A functional IP network
- An X-PoE lighting controller with lighting loads
- An Amatis Border Router (AMBR)
- An Amatis wireless rocker switch and sensor
Note
This guide shows two wireless wall switches and one wireless sensor already configured with the X-PoE host.
System Setup#
Before getting started with the system configuration, ensure the devices are properly connected. The AMBR and X-PoE lighting controllers should all have power and be connected to the same network. Any wired or wireless controls should also be powered up. Once all devices have power and are online, begin by logging into the Amatis Configuration App.
Note
This guide only applies to new out of the box devices. Used devices may not be able to communicate with each other if they have been set up incorrectly, and will need to be reset.
New User Or Site#
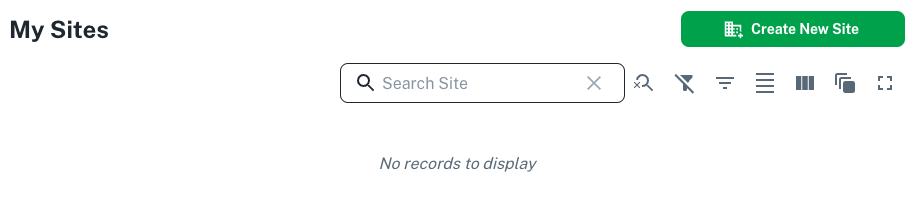
If a new user is attempting to access the system, create an account. Once logged in, if a site has not been created yet, follow these steps:
-
Select “Create a new Site”:
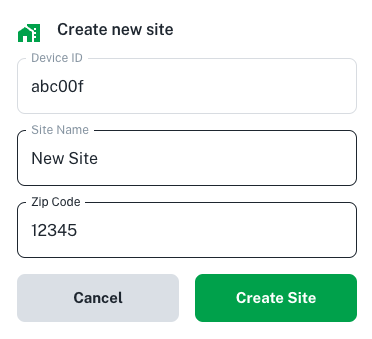
-
Type in the Device ID displayed on the back of the AMBR, give the site a name, and enter the site's zip code:
Note
If you get an “AMBR not found” message:
- Ensure that the AMBR and the connected router have access to the internet and it’s not behind a firewall. For OPC commissioning, refer to a special OPC commissioning instructions.
- Ensure your AMBR wasn’t hard coded for another site previously (if so refer to the reset AMBR and Site instructions)
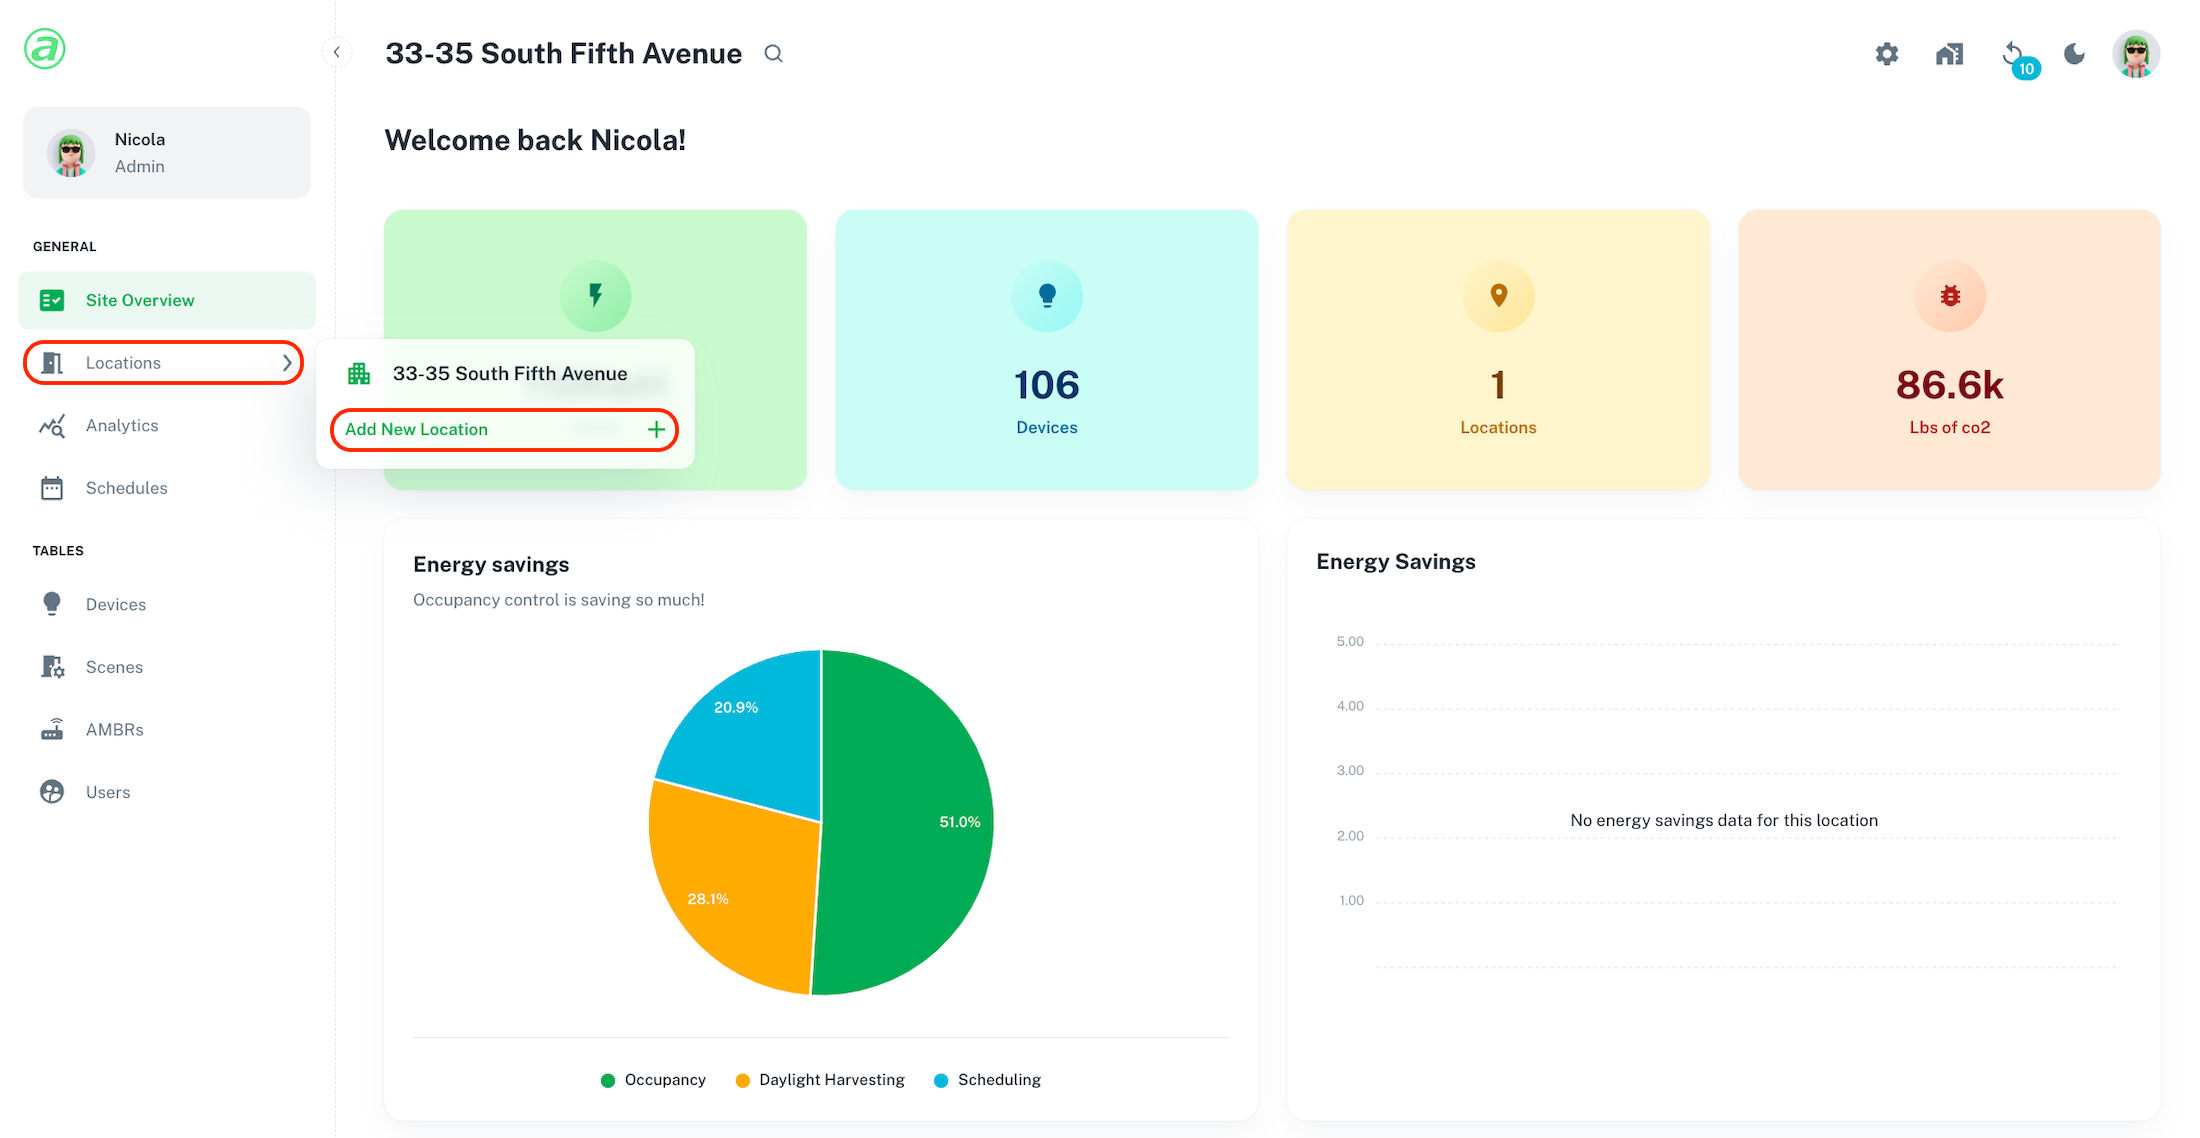
Step 1: Create Location#
After logging in, navigate to the "Locations" section and choose "Add New Location" to create the first location:
Select the type of location, give it a name, and click "Create":
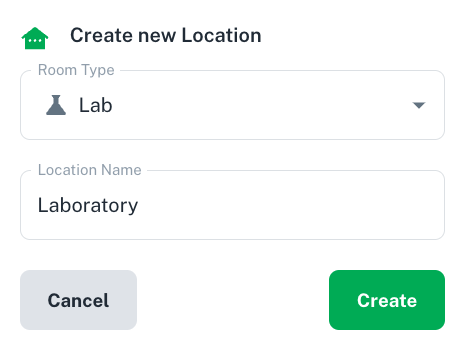
The location has now been created and is ready for devices to be added.
Step 2: Add Devices To Location#
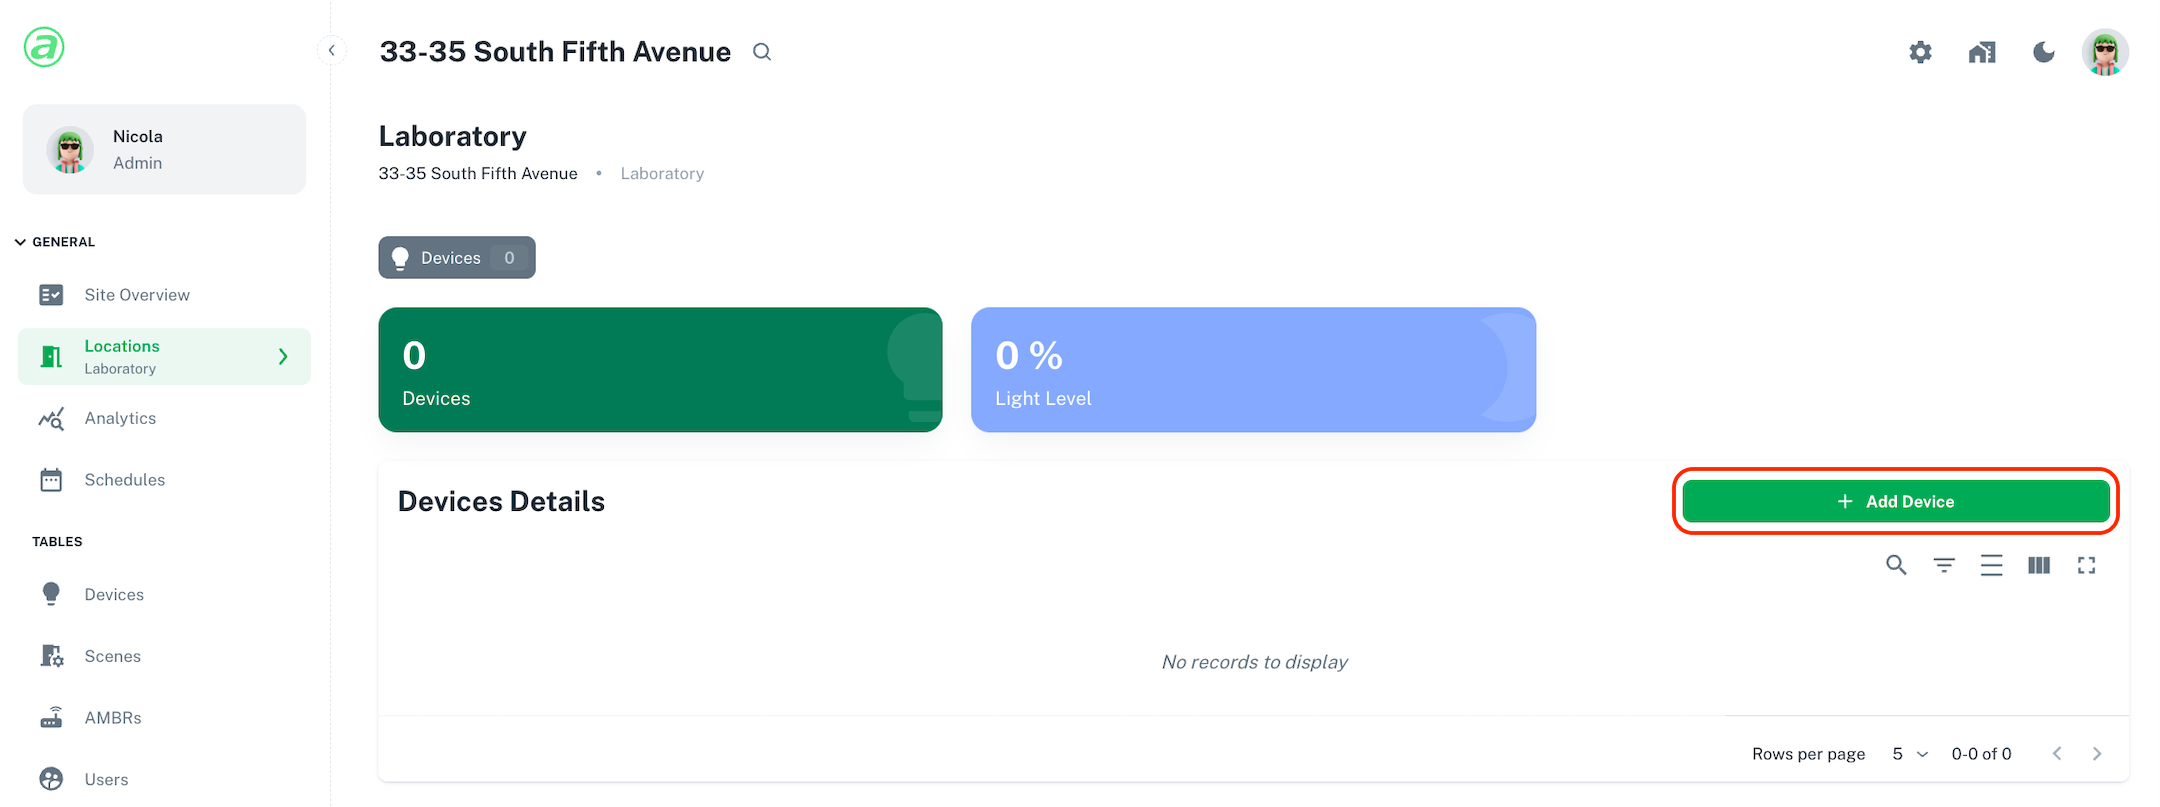
Once the location is created, devices should be added to the location. Select "Add Devices" to begin adding devices to the location:
Select all of the devices in the location, and click "Add Selected Devices":
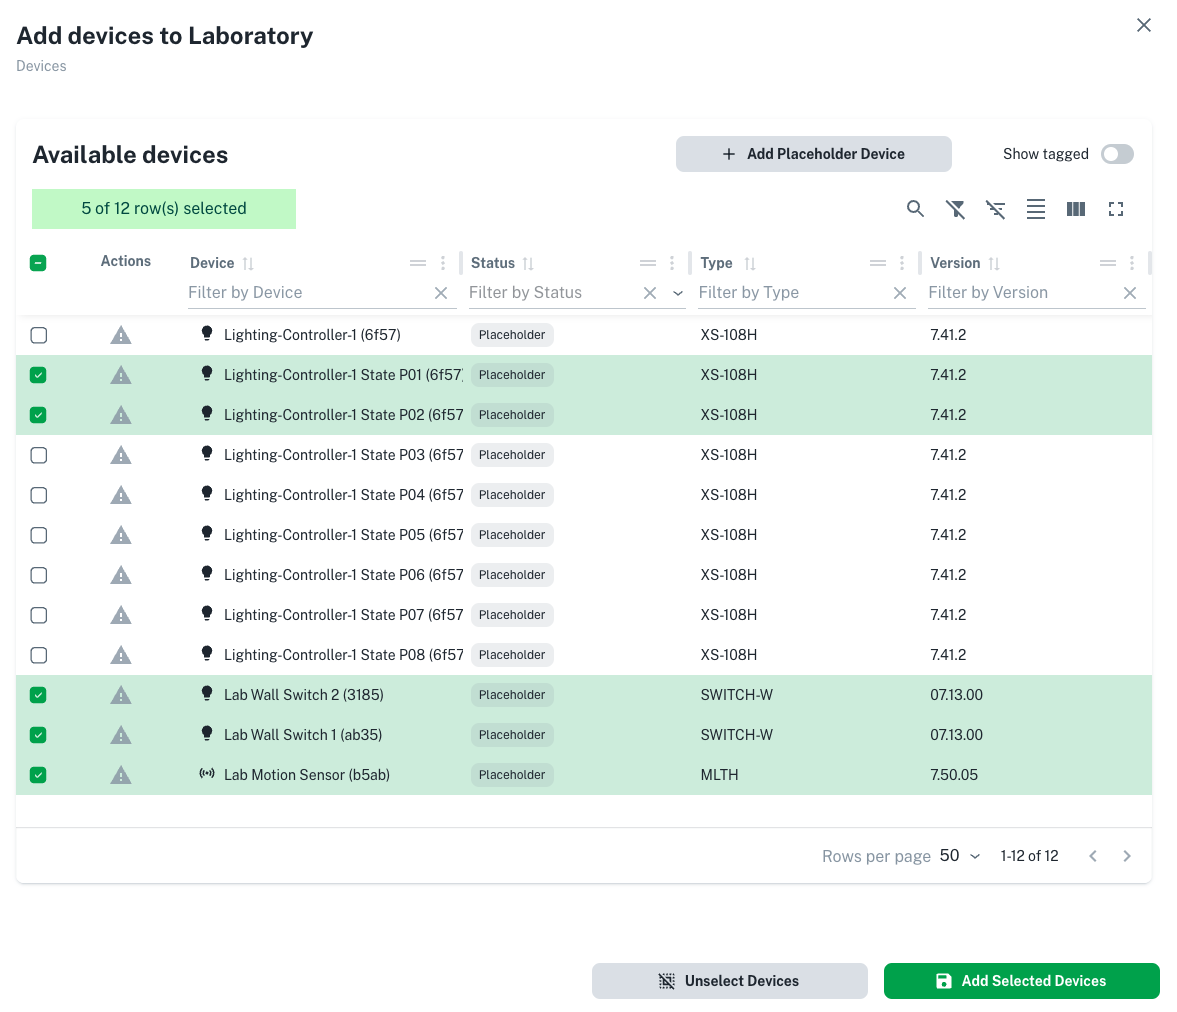
Note
When adding devices with multiple inputs or outputs, only add the inputs and outputs themselves, and not the overall device.
Note
If an X-PoE device is not showing up, refer to the X-PoE Amatis Integration Guide.
The device have now been added to the location and are ready for configuration.
Step 3: Device Configuration#
After a location has been created and devices have been added to the location, the next step is to configure device-specific properties. Make sure the "Devices" tab is selected, select the three dots next to a device, and click "Open Device Details" to configure it:
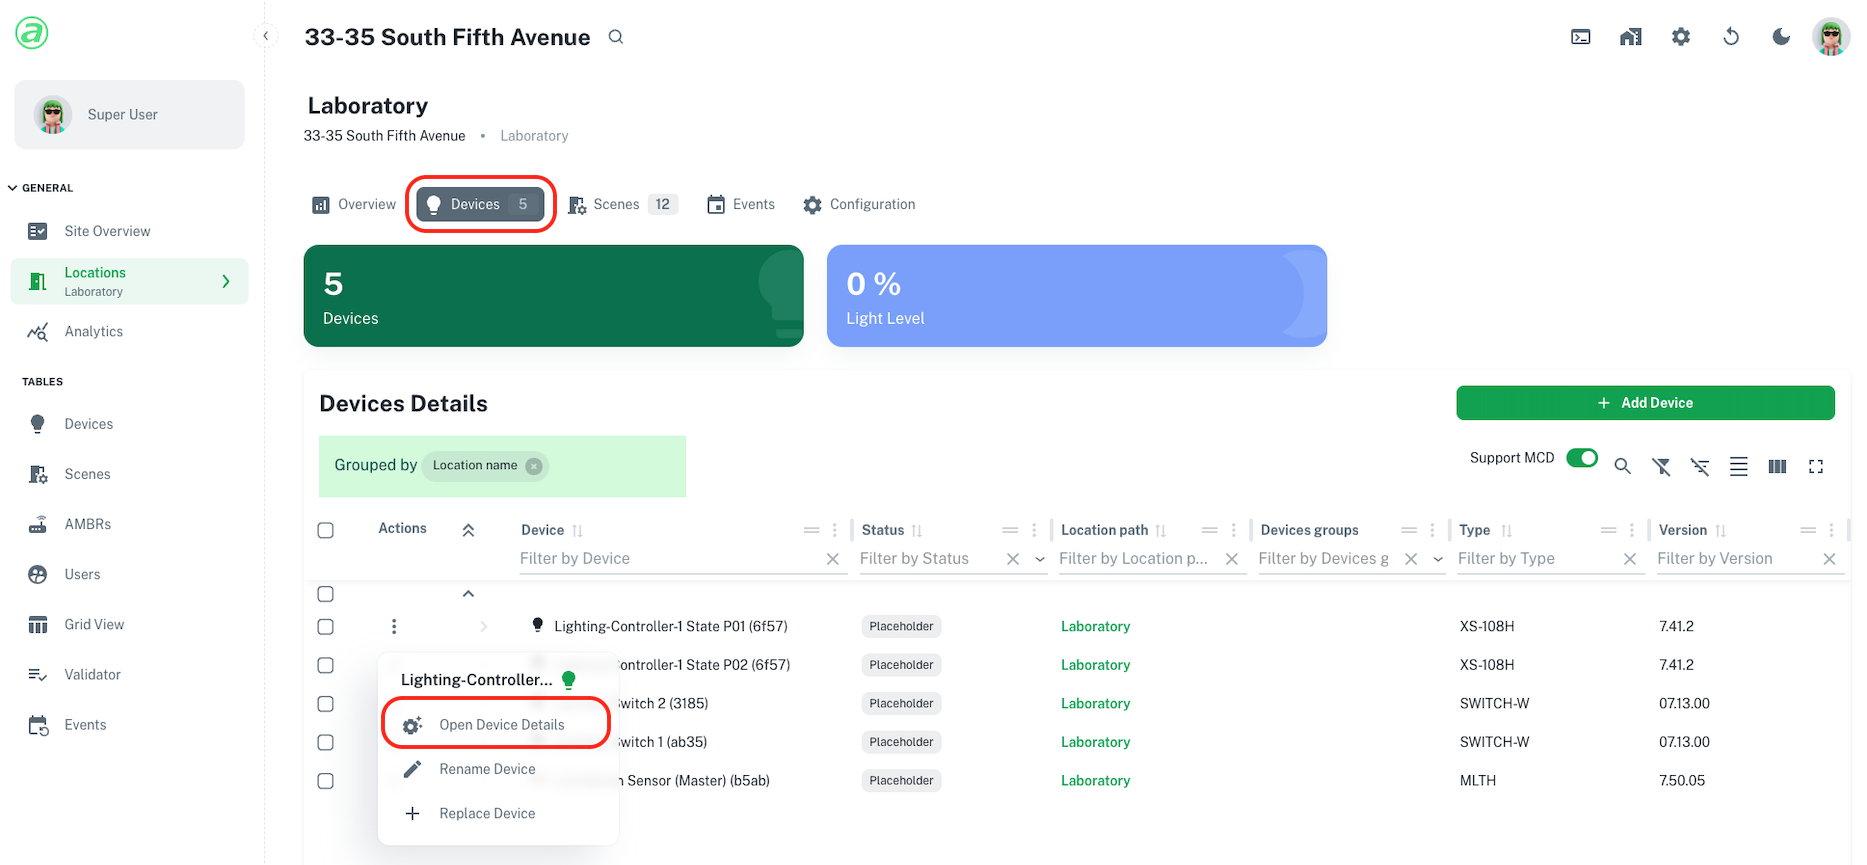
The settings pertaining to the specific device can be configured here if necessary:
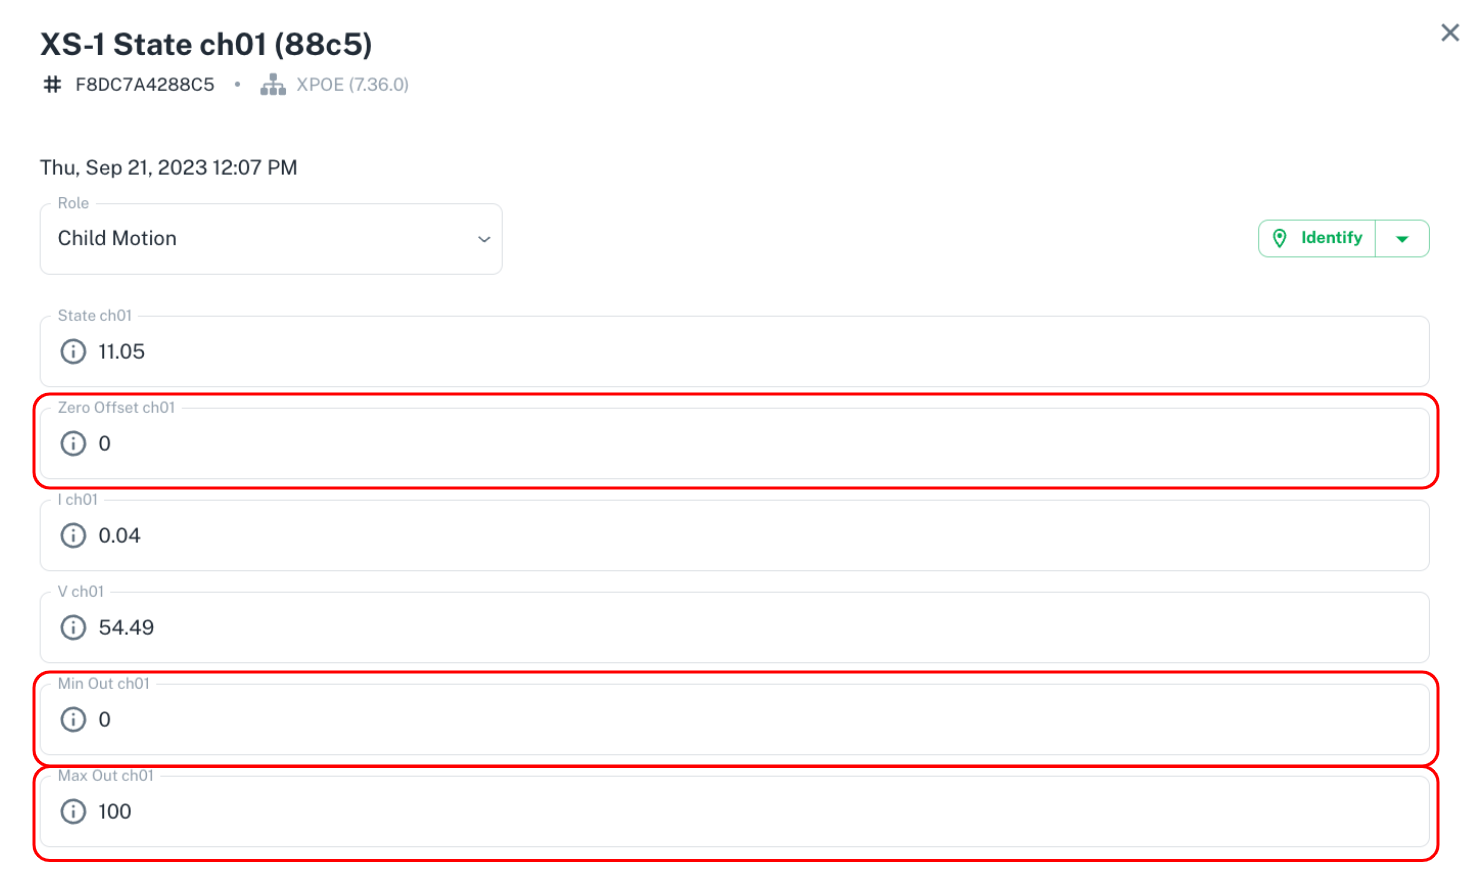
In this example, zero offset, min out, and max out for an X-PoE channel are show.
In this example, zero offset, min out, and max out for an X-PoE channel are show.
Note
Device configuration is not necessary for every device and may be done at any time. Not all devices will have the same settings.
The devices have now been configured and are ready to be grouped into zones.
Step 4: Zoning Devices#
Once the necessary devices have been configured, the next step is to group the devices into controlled zones. Make sure the "Devices" tab is selected, select the devices and controls to be grouped into a zone, and select "move" at the bottom of the screen:
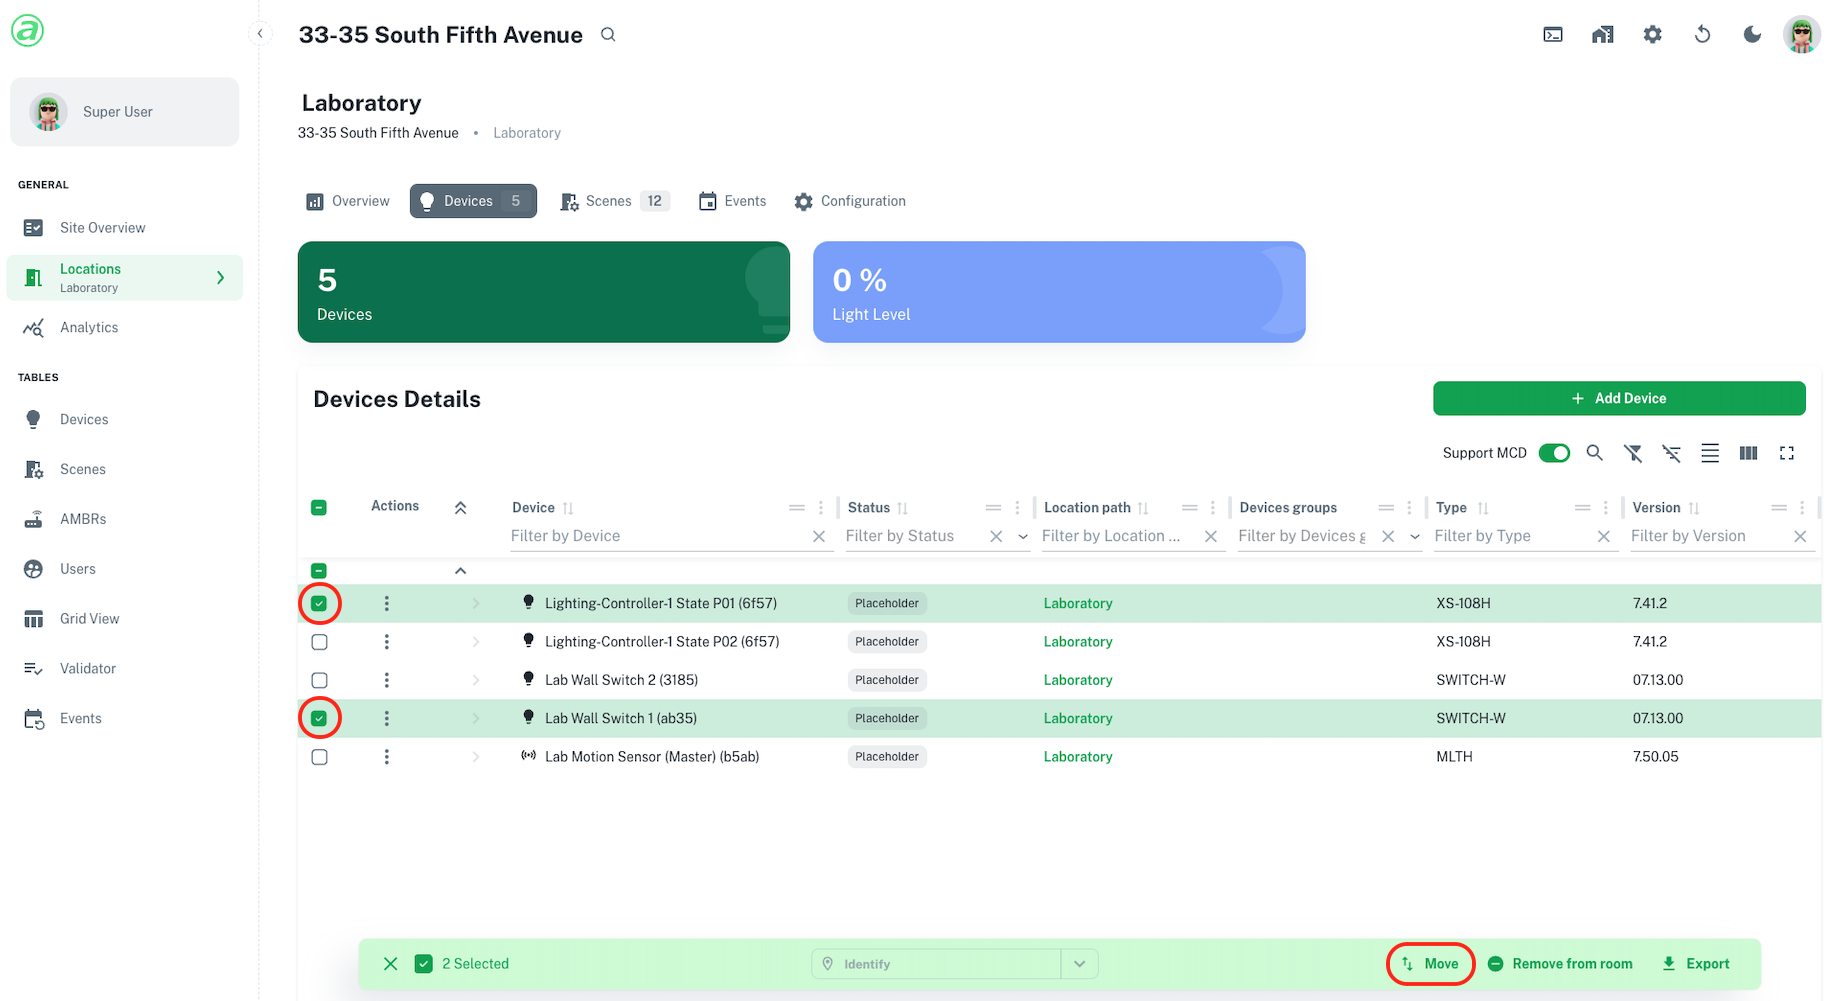
Note
Motion sensors cannot be added to both locations and zones. By default, if there is a motion sensor in a location, it will control all zones in the location. Zones can be removed from motion control in the zone config.
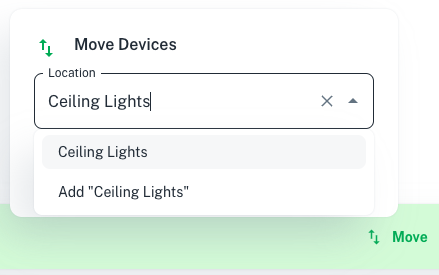
Begin typing the name of the zone. Select the zone from the dropdown or select "Add [zone name] zone" if it is a new zone:
Repeat this process until all devices (except motion devices, see note above) are grouped into zones. The zones are now ready to be configured.
Step 5: Zone Configuration#
After the devices have been grouped into zones, the zones need to be configured for control. Make sure the "Configuration" tab is selected. Configure the desired controls for the location (if applicable) and each zone:
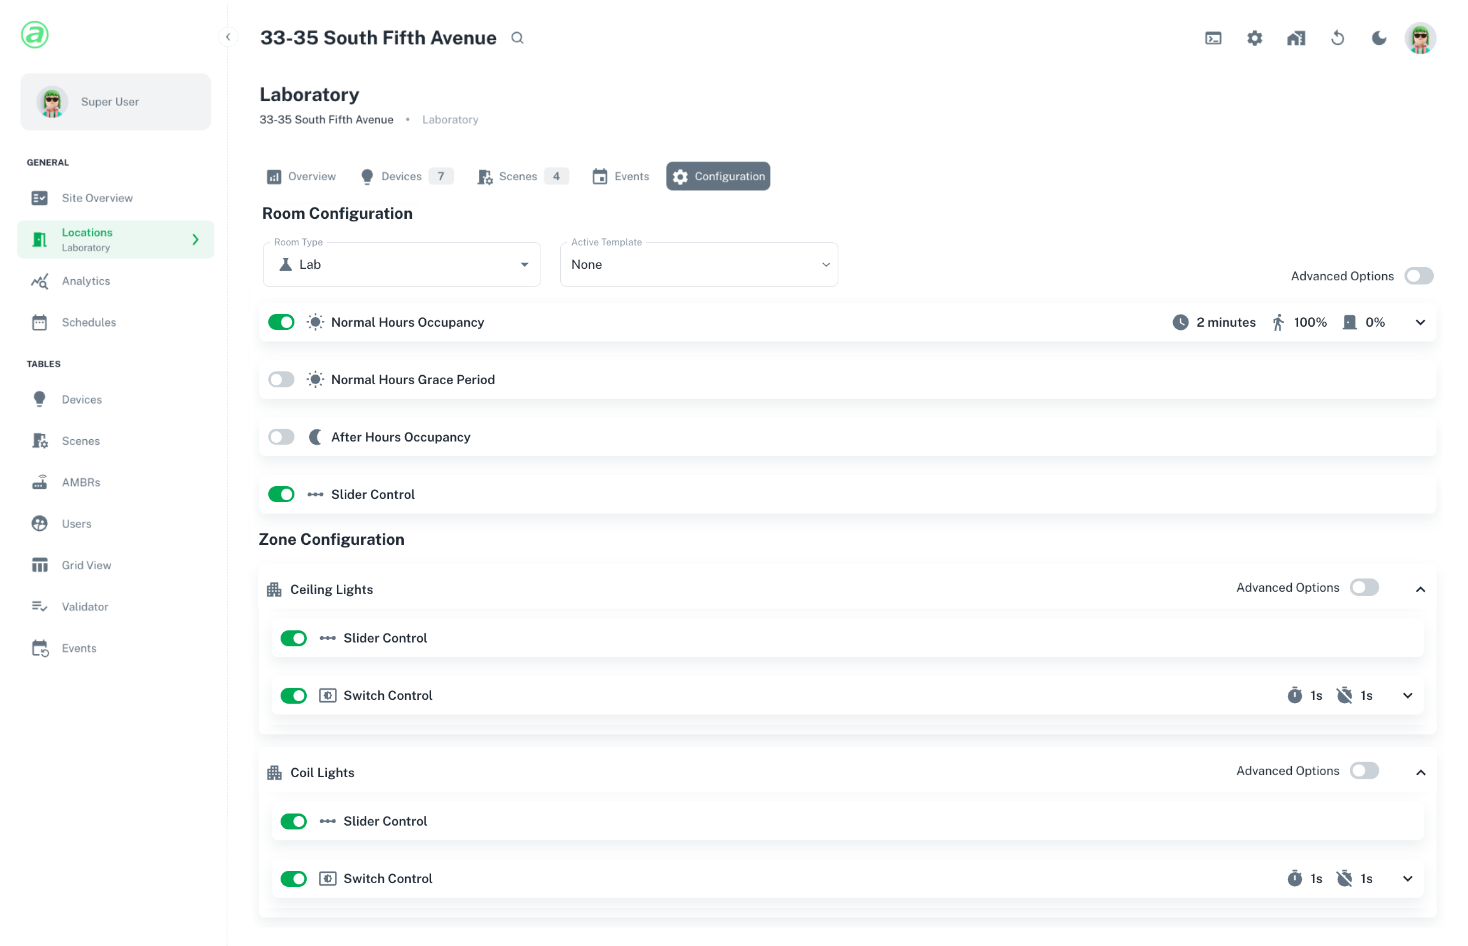
Note
Apply any changes to a zone before configuring the next zone.
Note
Apply any changes to a zone before configuring the next zone.
Step 6: Sync Changes#
Once configuration is complete, the changes need to be saved to the devices. Select the "Sync" button from the upper right menu:

After all devices have saved, the X-PoE system configuration is complete! For multi-button inputs, scene editing, and other advanced features, see the "Advanced Programming" section.